
Coach Account Guide
First-week walkthrough for human coaches—connect athletes, review the roster, schedule work, and publish your coaching presence.
This guide walks a new coach from first login through a working roster and calendar. For the full topic map, see the Coaches index.
Before you begin
You need:
- A Coach Watts account with coaching surfaces enabled
- At least one way to reach athletes (email, share link, or your public Start page)
- Optional: a small library of workout or plan templates to schedule in week one
Platform subscription and AI quotas are managed under Settings → Billing — see Account & Billing.
Week-one path
1. Set your public presence
- Open Profile → Settings → Public Presence.
- Choose a coach slug, bio, and branding you are comfortable sharing.
- Enable or configure the Start page and direct invite experience if you want inbound requests.
See Coach Settings & Public Presence and Start & Direct Invite Pages.
2. Connect your first athlete
Open Coaching → Athletes → Invite Athlete and pick a path:
| Method | When to use |
|---|---|
| Share link / QR | Open cohort or social post |
| Invite by email | One known athlete |
| Connect by code | Athlete already has an account and a coach code |
| Start page request | Prospect fills intake; you approve or decline |
Details: Connecting with Athletes and Invitations & Coaching Requests.
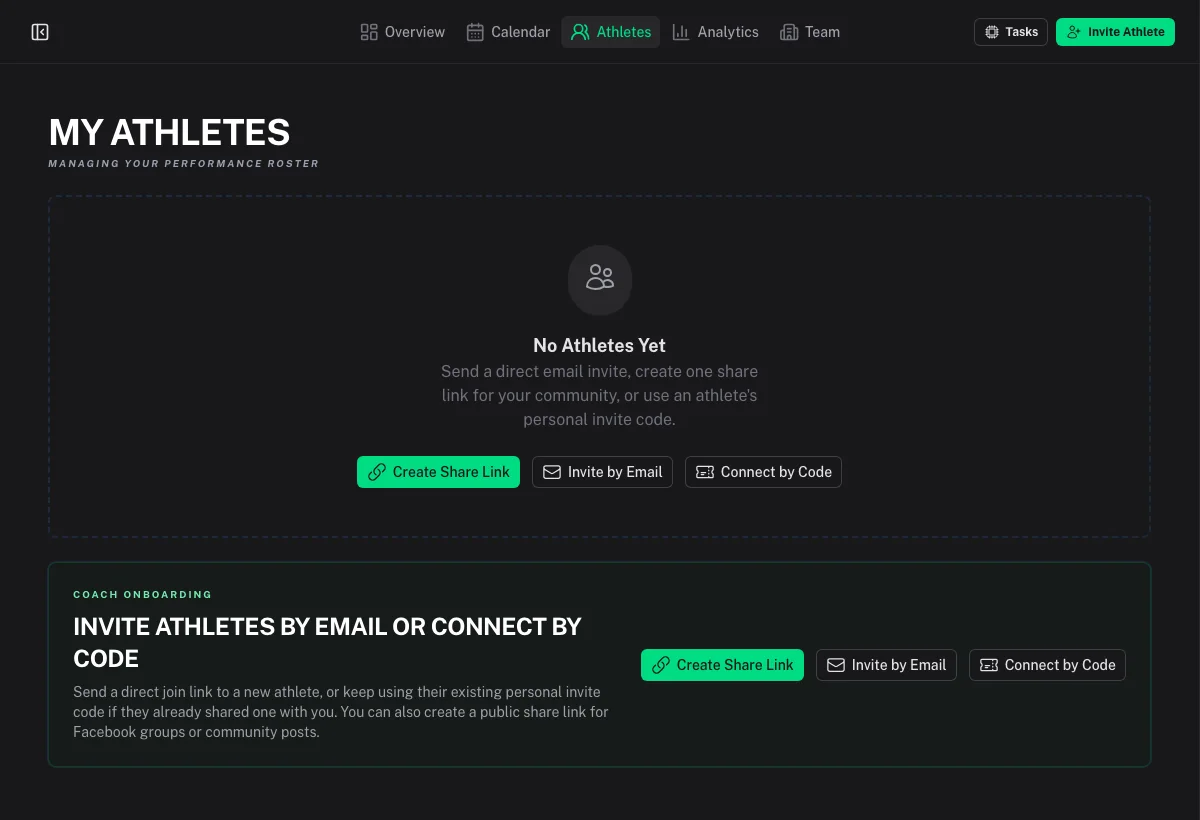
Coach Watts does not create a secret login for the athlete on your behalf. Athletes join with their own account through an invite, code, or Start page request.
3. Learn the Overview
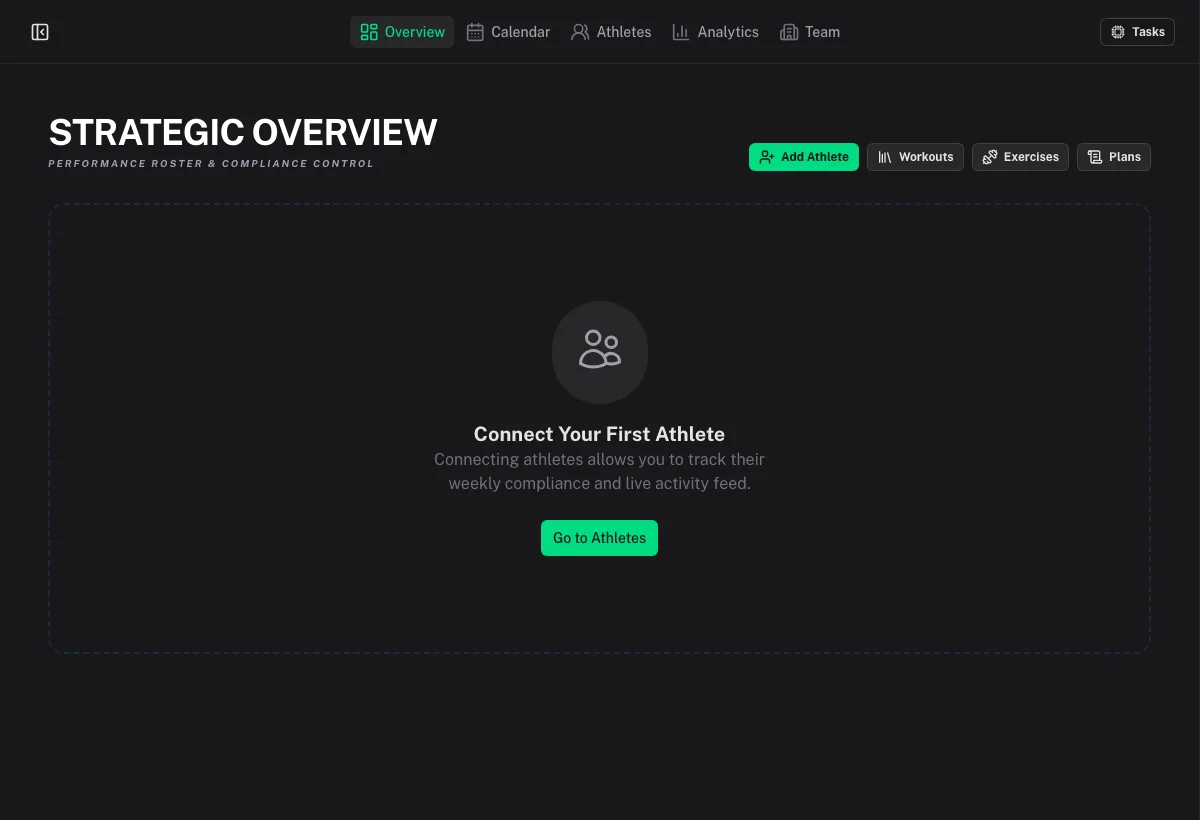
Coaching → Overview shows weekly compliance signals, recent athlete activity, and shortcuts into the roster and libraries. Use it as your morning triage board. See Strategic Overview.
4. Open an athlete profile
From Coaching → Athletes, open an athlete to review:
- Fitness / form / readiness style signals
- Upcoming and recent sessions
- Zones and recommendations the coach role can see
Stay in coach-scoped views — you do not need the athlete's password. See Athlete Roster & Profiles and Reviewing an Athlete.
5. Schedule on the coach calendar
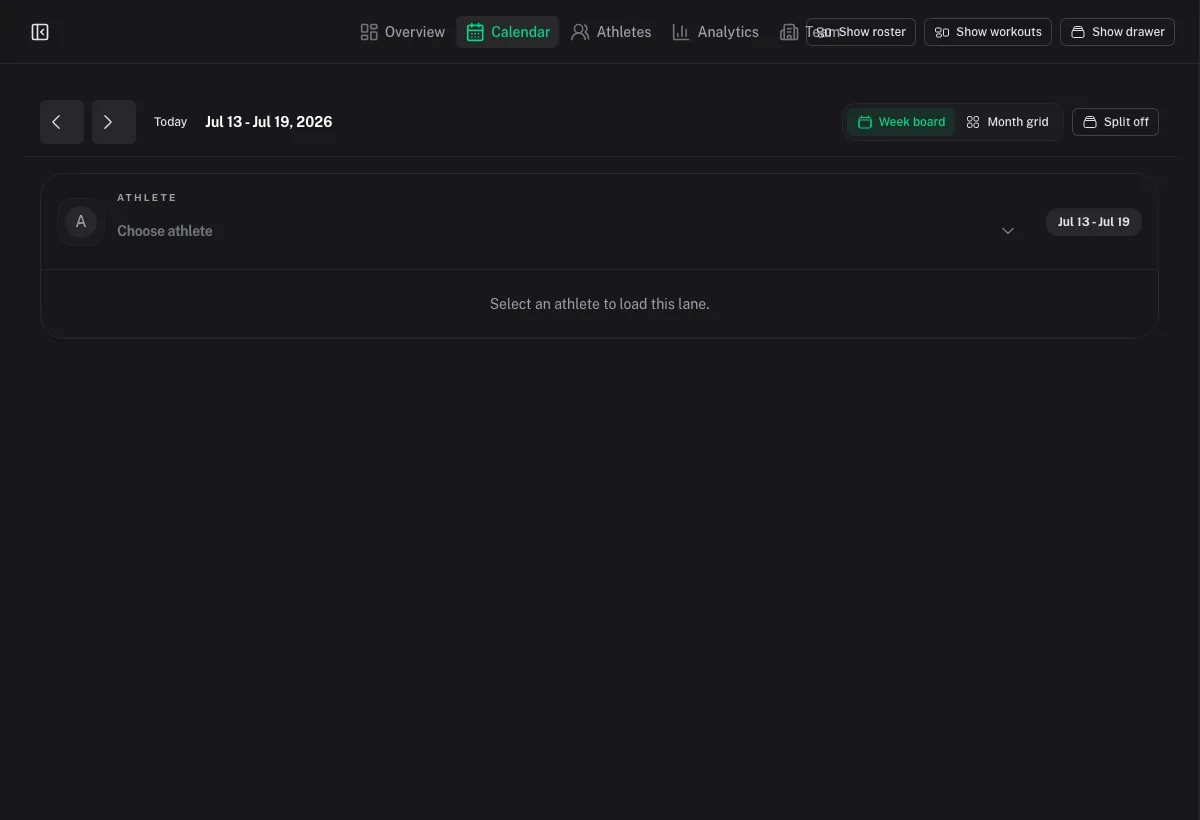
- Open Coaching → Calendar.
- Select the athlete (and optional second calendar for comparison).
- Use the Workouts or Plans drawer to place templates on dates.
- Move or copy sessions as the week changes.
See Coaching Calendar.
6. Seed your library
Build reusable content under Library:
- Workouts — endurance structures and Gym strength sessions
- Exercises — strength movements with prescriptions and optional video
- Plans — multi-week blueprints with share visibility (Private / Team / Public)
See Coach Library & Sharing and Strength Training for Coaches.
7. Optional: team and groups
- Coaching → Team — professional team, staff roles, invite code
- Athlete groups — organize rosters without changing relationships
See Team Management and Athlete Groups.
8. Analytics and messaging expectations
- Coaching → Analytics — personal, single-athlete, and multi-athlete charts (Coach Analytics)
- Message Athlete — opens AI Chat with a starter prompt about that athlete; it does not send email or an in-app DM to the athlete. Use your normal channel (or Telegram if the athlete uses it) for human messaging. See Messaging & AI-Assisted Review.
Permissions to remember
Access is relationship- and role-scoped. A team roster entry does not always grant private data. Athletes can revoke you. Read Permissions & Privacy before inviting staff or publishing intake forms.
Checklist after week one
- At least one connected athlete
- Public presence / Start page configured if you want inbound leads
- A few library workouts you can reuse
- Comfortable scheduling and reviewing on Coaching → Calendar
- Clear on what Message Athlete does (and does not do)